
How to replace the seal on a Stinol refrigerator door
Replacing the seal on a Stinol/Candy/Nord/Dnepr refrigerator door (with screws behind the panel)
When the seal needs to be replaced
Replacement is necessary if some parts of the rubber detach from the door, there are through cracks in the seal, the corners do not fit tightly, or air passes through the seal.
The refrigerator door should be held by the magnet of the seal, not just close like a cabinet door.

Required tools and materials
- A new seal that matches the dimensions (outer contour) of your refrigerator door (these are marked as "wide 30 mm" or "under the strip" in our catalog).
- A flat wide screwdriver or a narrow spatula or a plastic bank card, for bending the mounting panel, removing, and installing the seal.
- A screwdriver.
- Self-tapping screws 16 mm long with a washer head (or glue).
Important: Before starting work, disconnect the refrigerator from the power supply, and for a better result, it is advisable to remove the door, especially if you are inexperienced.

Initially, the seal is not screwed or glued, but pressed onto foam, which we will now easily peel off.
Step 1. Open the door and inspect the old seal
Open the refrigerator compartment door and check the entire rubber contour: from top to bottom, both side edges, and corners. Pay special attention to the bottom corners, where the seal often comes out of its seat – to understand the fastening principle.
Important: Before disassembly, observe how the inner collar (tail) of the old seal was installed so you can understand how to install the new one in the same position.


Remember how the seal was fitted under the door panels, as you will need to do this in reverse order.
Step 2. Remove the old sealing rubber
Pry up the edge of the seal (along with the plastic strip) with a plastic card or a flat screwdriver and carefully pull it out from under the plastic trim of the door. Do not make sudden movements and do not insert the screwdriver (spatula) too deep, so as not to deform the plastic on which the seal is actually held.
Move along the perimeter of the door, sequentially releasing the seal. The rubber is removed quite easily if you pull it out of its seat, rather than trying to tear it off the door.

Separate the seal's collar from both sides of the plastic panel.
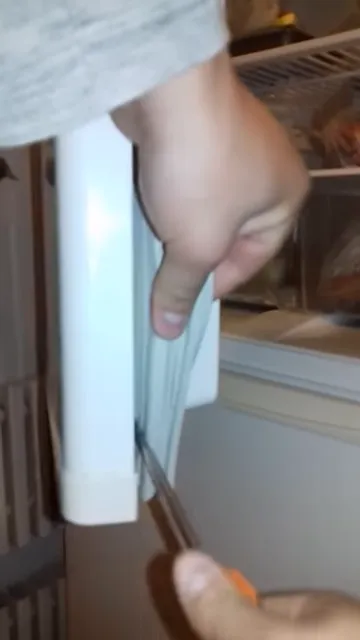
Pay attention to the removed seal and examine its structure to understand how it was held on the door by this "tongue" (collar), which you will soon need to re-insert under the panel.
Important: After removing the old seal, there should be a clean, free space up to 3 cm deep between the plastic panel and the door.

Step 3. Check the new seal
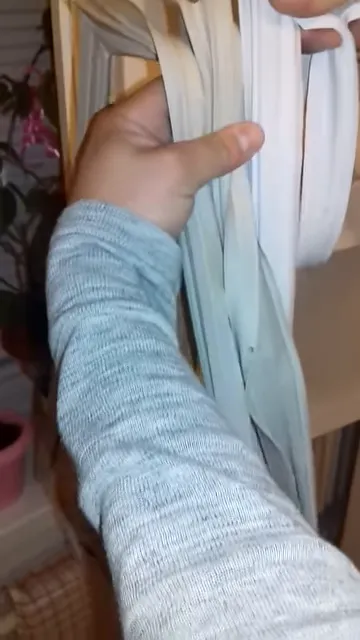
After unpacking our parcel, fully unroll and lay out the seal, let it settle and flatten for proper installation. Compare the new rubber with the old one. The new seal should match the construction, dimensions, and location of the inner tail (collar).
The old rubber usually differs in color, may be yellowed, stretched, or deformed. An error in dimensions along the outer contour is allowed up to 5 mm.
Step 4. Install the seal at the corners
Installation is performed in reverse order. First, put the new seal on all four corners of the door. This will properly orient the rubber, and further installation along the straight sections will be smooth.
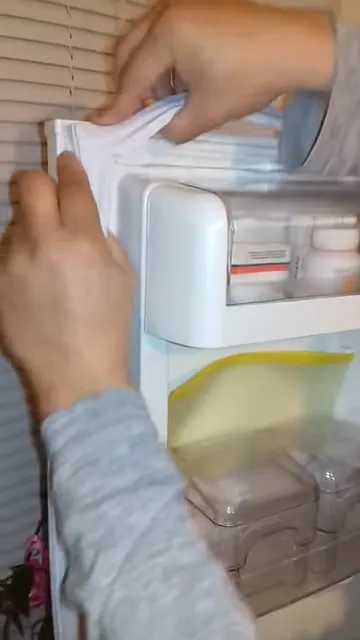 Start installation from the corners, tucking the collar into the corners, then move to the straight sides of the door, using a spatula or screwdriver to assist.

After fixing the corners, straighten the seal along the entire perimeter. It should not twist, form creases, or be stretched more on one side than on the other.
Step 5. Tuck the inner tail under the plastic
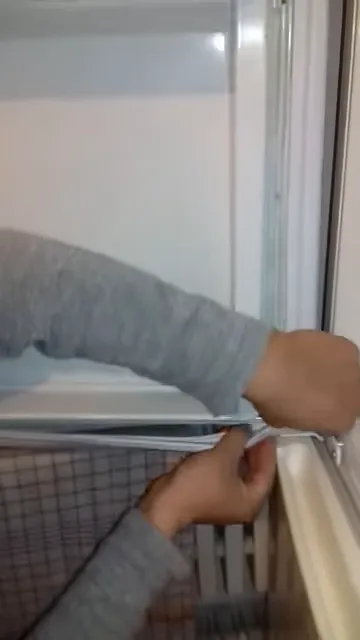
Ensure that the inner tail (collar) is tucked under the plastic trim of the door along the entire contour, just as the old seal was installed.
Use a flat screwdriver only as a guiding tool. Press the tail in small sections, without piercing the rubber. First, tuck in the top side, then the side edges and the bottom part.

The inner tail (collar) must fully fit under the plastic trim without distortion.
Step 6. Secure the seal with self-tapping screws
To prevent the rubber from falling out of its seat, secure it with 16 mm self-tapping screws with a washer head. Use a screwdriver and install the fasteners carefully, without overtightening.
Place the self-tapping screws around the perimeter of the door with a spacing of approximately 15-20 cm. Secure the top, bottom, and both sides.
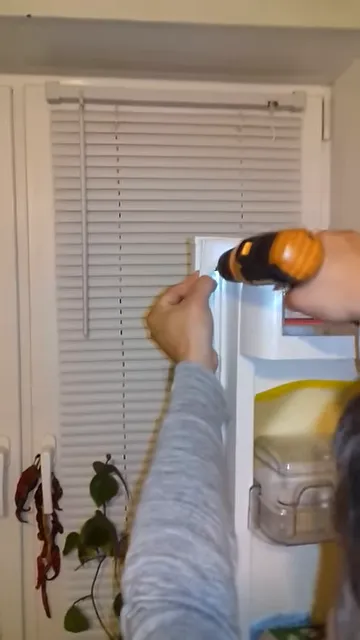
Important: Do not overtighten the self-tapping screws. The washer head should simply press down the plastic and the tail (collar) beneath it.
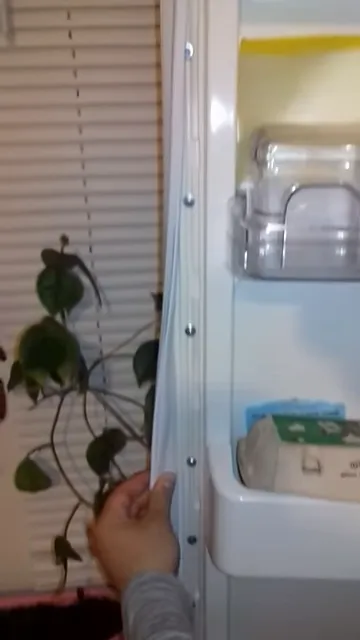
Step 7. Check door fit
Close the refrigerator door and check the fit along the entire perimeter. The seal should magnetize to the body, the door should be noticeably pulled in, and there should be no gaps.
Open the freezer compartment and inspect the bottom of the refrigerator door. This helps ensure that the bottom side of the seal fits tightly and does not let air through.
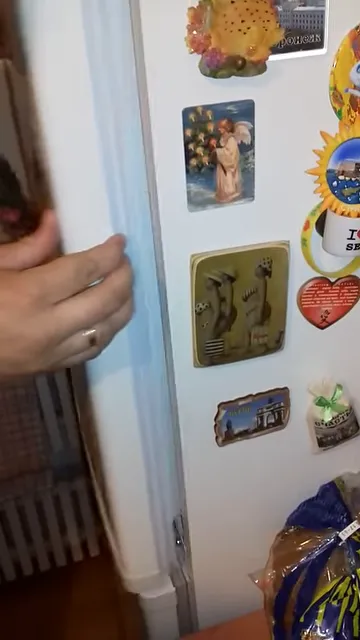
If you do not wish to drill into the refrigerator door, use a universal glue such as PVC-Metal-Rubber-Plastic and apply glue to the inner side of the seal's collar. Then, firmly press the door to the body with tape and leave for 10-12 hours.
Final check after replacement
- All four corners of the seal are installed evenly.
- The inner tail (collar) is fully tucked under the plastic.
- Self-tapping screws are on the top, bottom, and both sides of the door.
- The spacing between self-tapping screws is approximately 15-20 cm.
- The door is attracted by the magnet and closes without gaps.
- The bottom edge of the door fits tightly against the refrigerator body.
Attention!
If you plan to replace the seal on a refrigerator in Zaporizhzhia, after purchase we can recommend a qualified technician in your city.
Additional Information:
Our catalog for Indesit refrigerator seals
Our catalog for Ardo refrigerator seals
Our catalog for Stinol refrigerator seals
Our catalog for Nord refrigerator seals
If you don't find yours here, please contact us at contacts with a request for your refrigerator.